
In all of the excitement over the release of 5.1 U1, it’s easy to forget about your trusty VCSA. U1 isn’t just for hosts, it’s for vCenter too! It’s easy to update VCSA. Here’s how:
- Take a snapshot of your VCSA VM. Treat this update like any other update, and give yourself a fallback plan just in case the update fails.
- Log out of any active sessions with VCSA, both Web Client and the vSphere Client. This isn’t required, but you’ll save some time by keeping activity on the VCSA to a minimum during the update.
- Connect to the VAMI for your VCSA. Point your browser to https://<vcsa-ip-address>:5480. This will bring up the Virtual Appliance Management Interface, which gives you access to the VCSA administrator console.
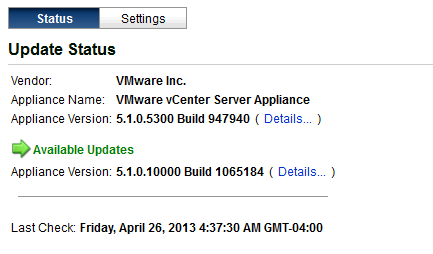
- Click the Update tab. If your VCSA is set to automatically check for updates, you’ll see a message here that indicates a new version is available. If not, click the Check Updates button on the right. You’ll then see that a new update is available, like in the picture below:
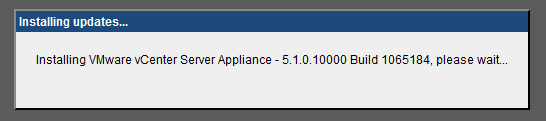
- Install the Update. Click Install, and grab a coffee. Take your time. Really. I’ve done a few of these, and they tend to take close to an hour to complete. YMMV, so share with us (via the comments section) if your update is much quicker. Otherwise, plan to stare at this screen for a while:
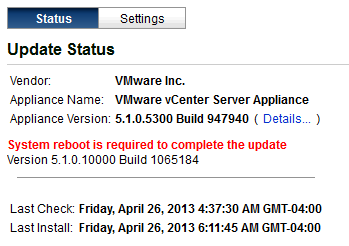
- When the Update is complete, reboot the VCSA. When the Update completes, you’ll need to manually reboot your VCSA, as indicated by the following message:
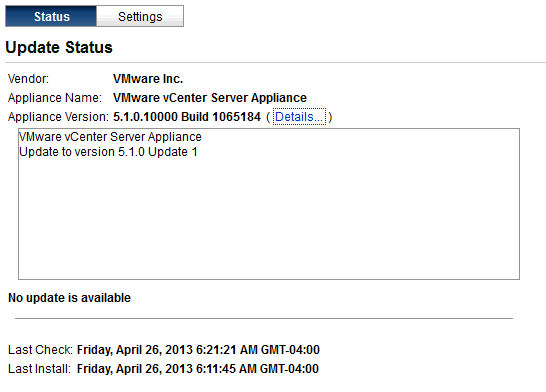
- Verify that the Update is installed. As a final check, once your VCSA is back online, go to the Update tab and verify that you’re running U1. Click the Details link to see version specifics:
- Update the VMware Client Intergration Plug-in. As a final step, you’ll want to update the Client Integration Plug-in to match the version of the VCSA. Start by clicking the link at the bottom of the vSphere Web Client login page:

- The installer downloads via your browser. Close your browser, launch the installer, accept the defaults, and you’ll be good to go.
That’s it! Now VCSA is happily running U1. Review the release notes for all the details of what U1 fixes and introduces.
Note: you may find that you get a few errors in your browser regarding long-running scripts after the update. Close your browser and re-open; that should clear them out. If not, check that you’re running the latest version of Flash.